Make use of custom fonts in your email template
2023-07-11To begin, we first need to decide what custom font or fonts we would like to utilise in our email template and from which provider. In our example, we will use the serif font 'Playfair Display' which is available in Google Fonts, an open source library for fonts.
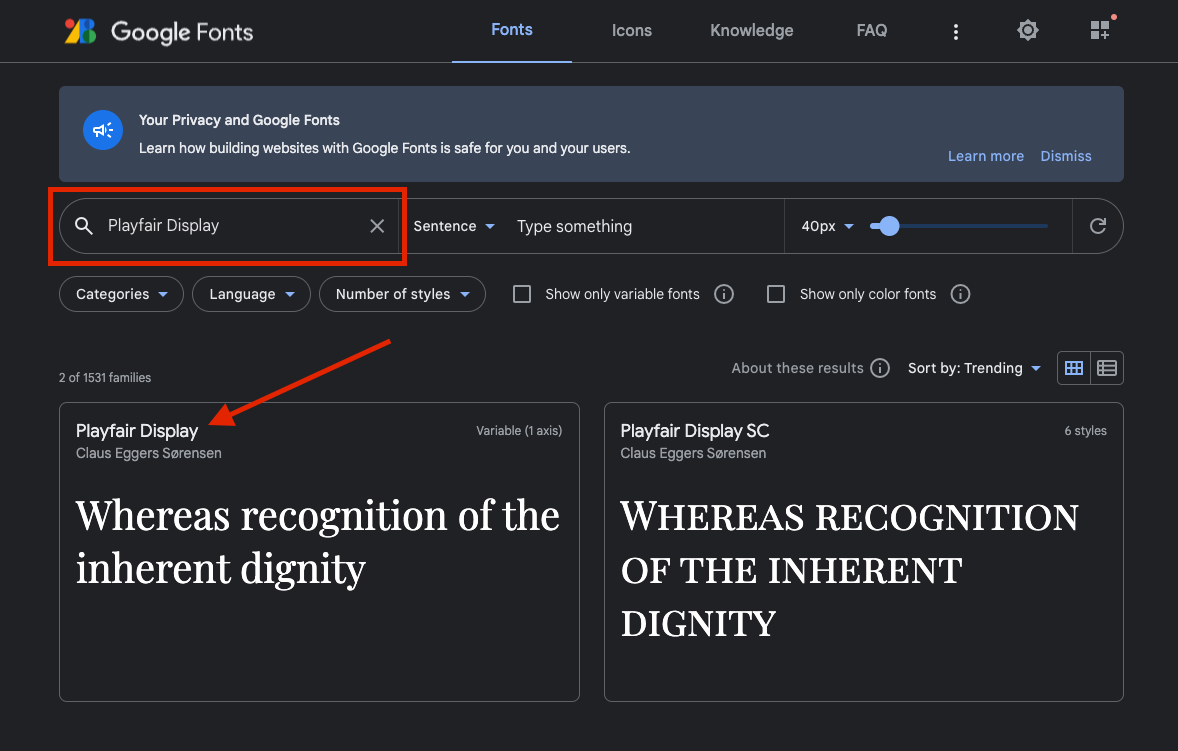
Simply go to the Google Fonts website and search for 'Playfair Display' as seen below:
Click on the correct result and you will be presented with a page containing the different font weights available for that font. You can also preview how text would look like in that particular font by adding some text on the 'Type here to preview text' input.
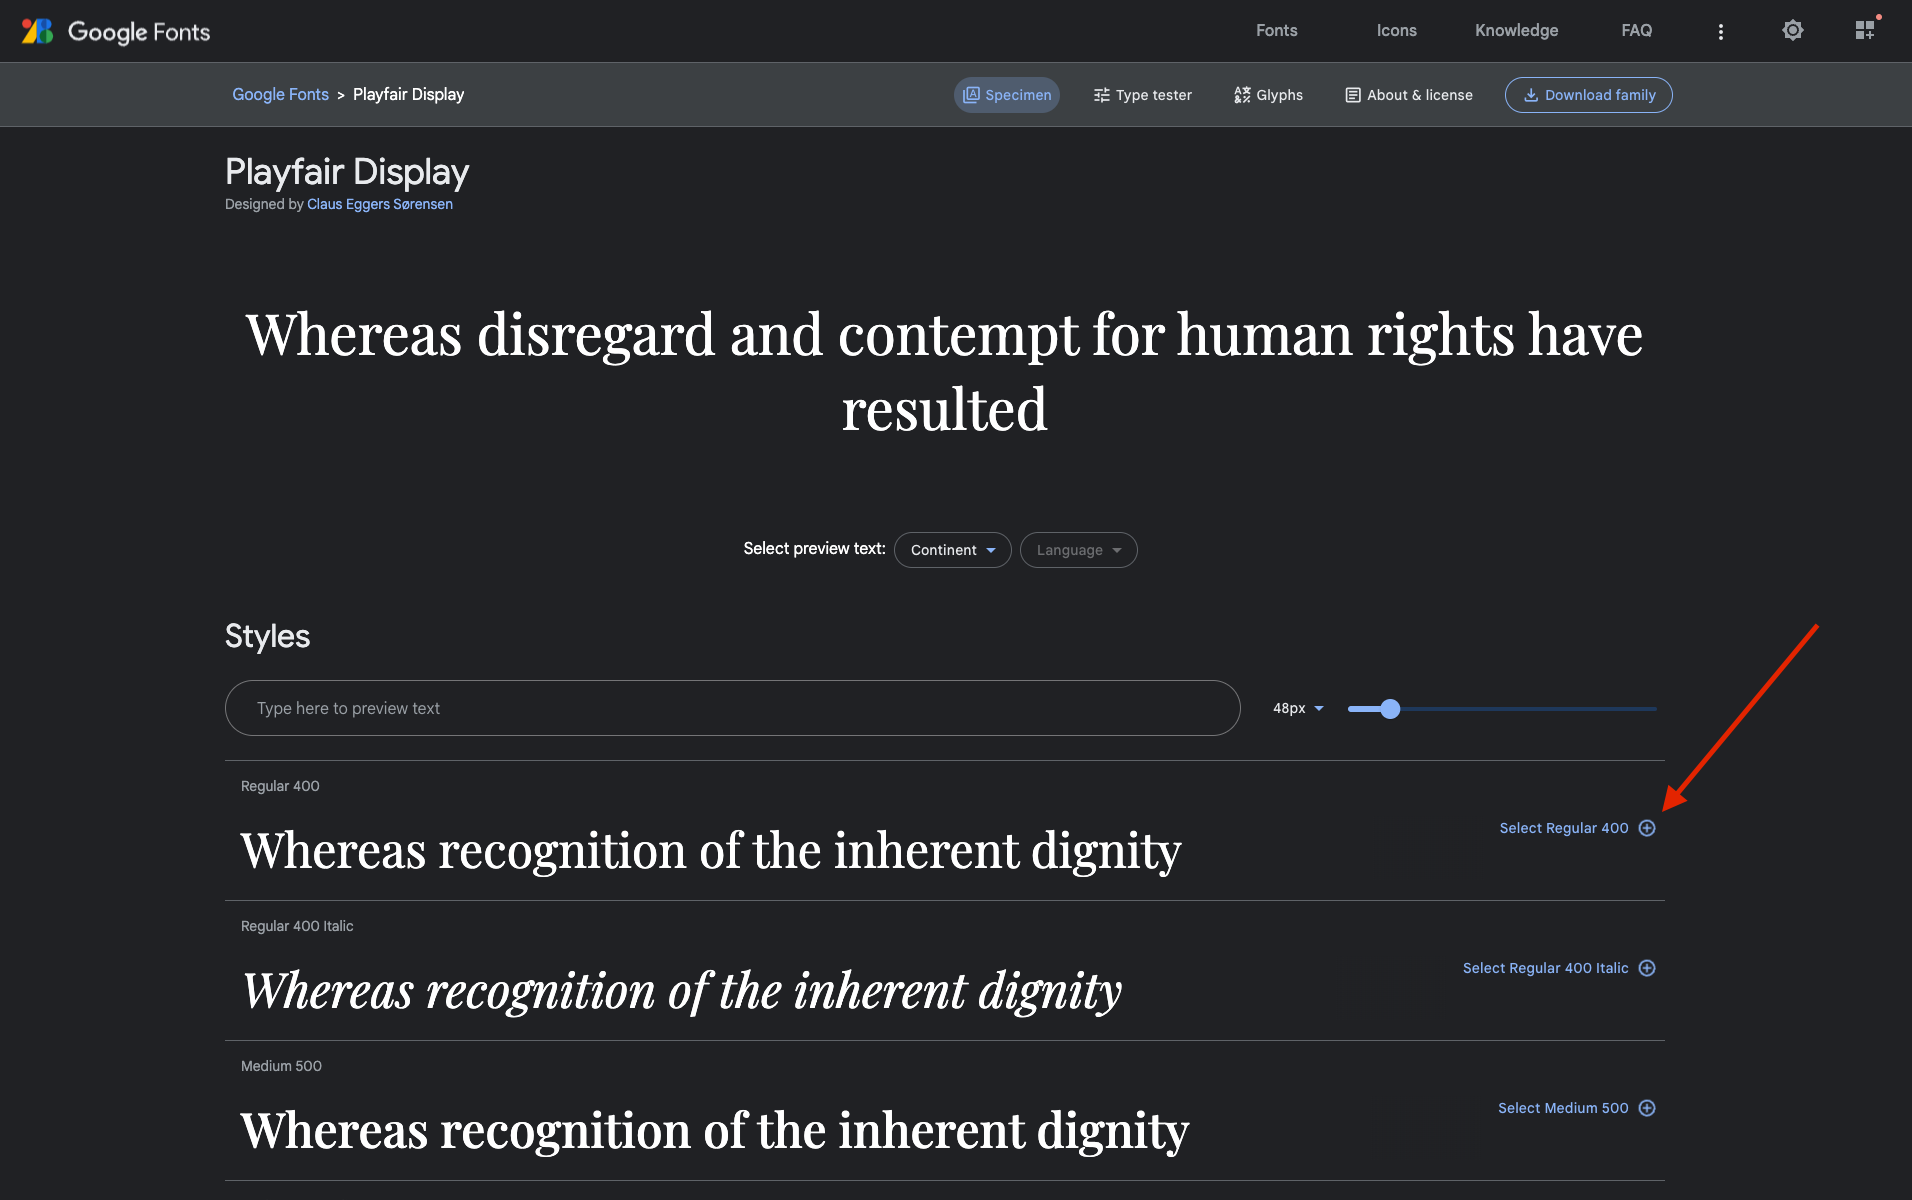
Select the font weights you would like to utilise by clicking on the link with `+` symbol on the right of each font weight. It is suggested to make use of the standard 400 (normal) and 700 (bold) font weights in your email template due to limited support by older email clients.
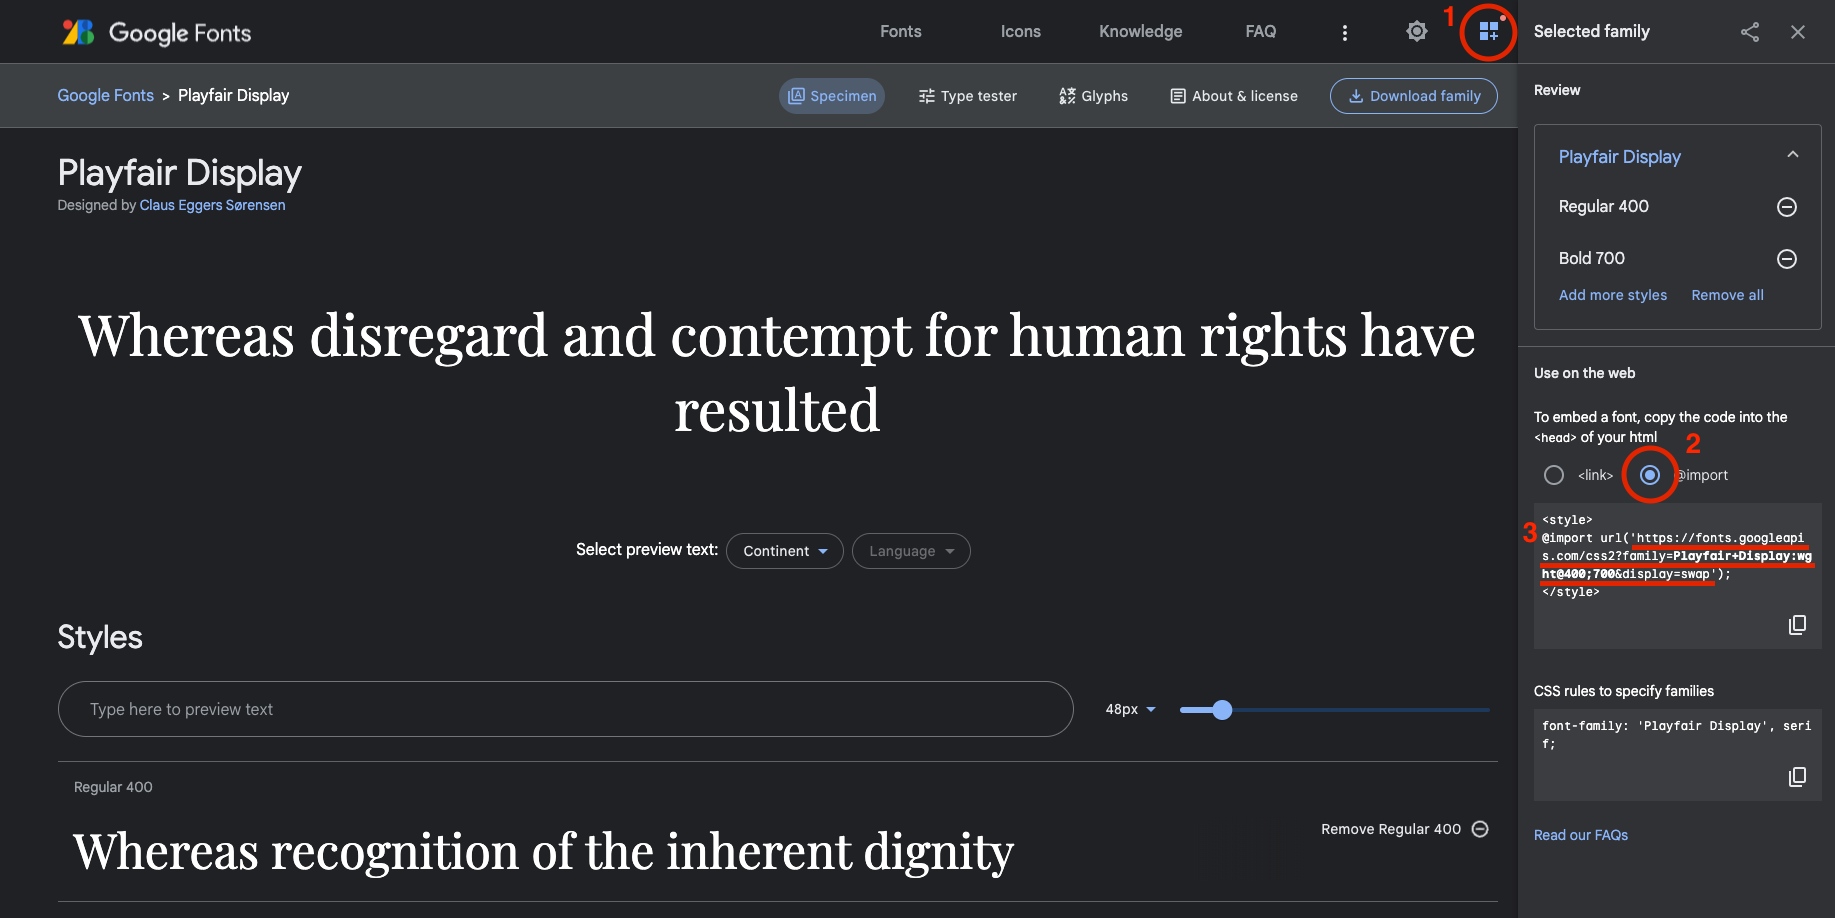
Once you've selected the aforementioned font weights, click on the icon found on the screenshot below marked as '1'. This will open up a sidebar which will display the fonts you've selected including some options on how to make use of these fonts. In this example, we will use the 'import' method found on the screenshot below marked as '2'. We are making use of this method simply to get access to the URL found on the screenshot marked as '3' which we will need later on.
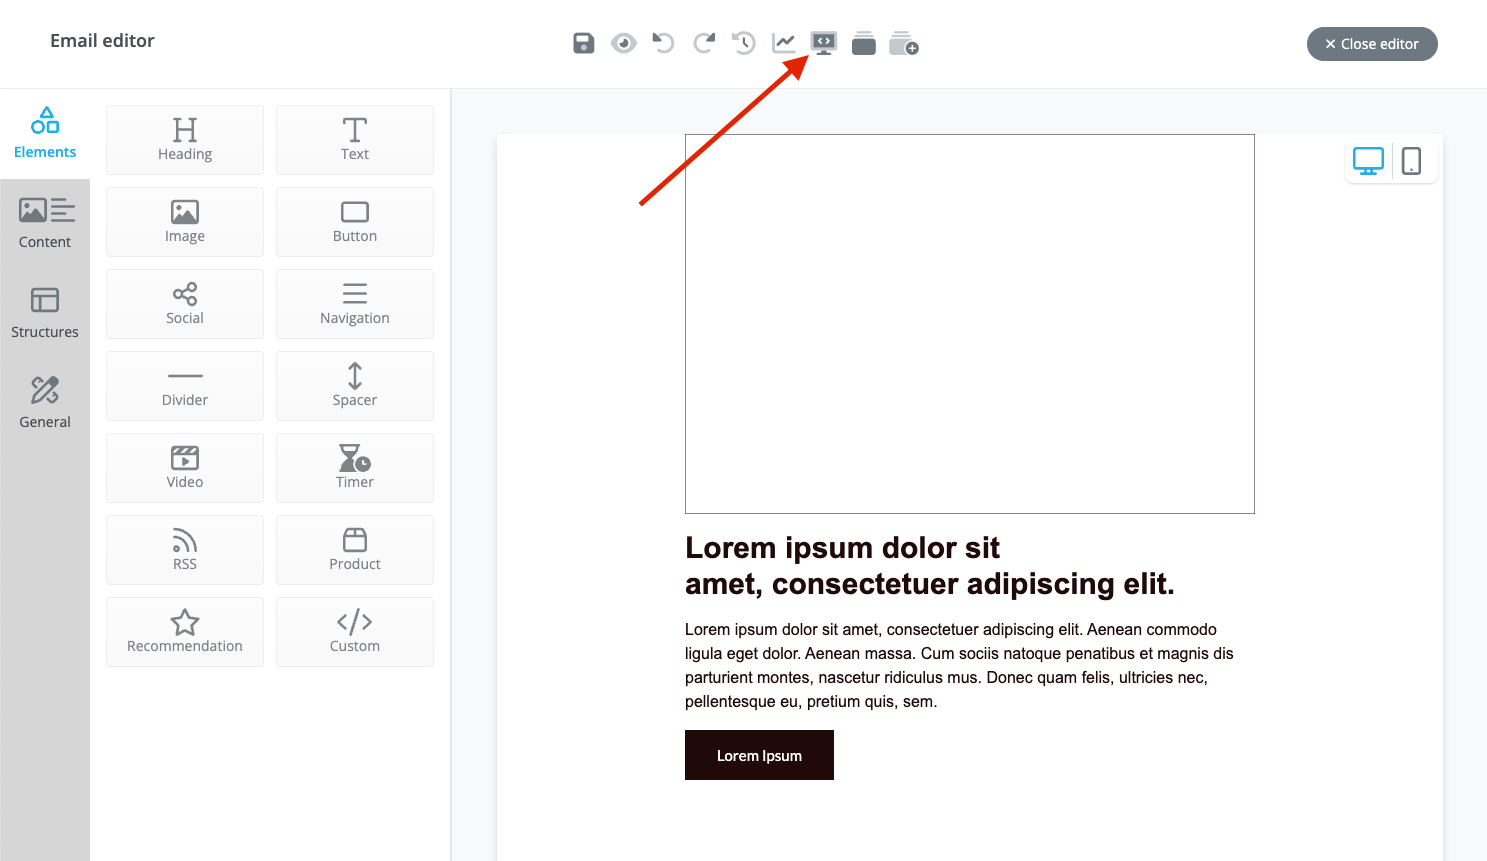
It's time to go back to the Mail+ drag and drop editor. Once there, click on the 'SPML center' icon found on the screenshot below:
After clicking this icon, you will be presented by a window that displays the 'SPML editor'. Next, we need to insert the URL we got the from the Google Fonts website in the following snippet of code below, specifically within the double quotes in the href property.
<sp-font name="" href="" family="" />
It should now look like this:
<sp-font name="" href="https://fonts.googleapis.com/css2?family=Playfair+Display:wght@400;700&display=swap" family="" />
Next, we need to add the name of the font, which in this case is 'Playfair Display' within the double quotes in the name property. Lastly, we will need to add the font family 'Playfair Display, serif' in the family property. 'serif' will be our fallback font for this custom font but feel free to make use of your own websafe font as long as it follows the same typeface (in our case serifs).
The result should now look like:
<sp-font name="Playfair Display" href="https://fonts.googleapis.com/css2?family=Playfair+Display:wght@400;700&display=swap" family="Playfair Display, serif" />
Paste this snippet in the location found on the screenshot below (nested within the <sp-head>):
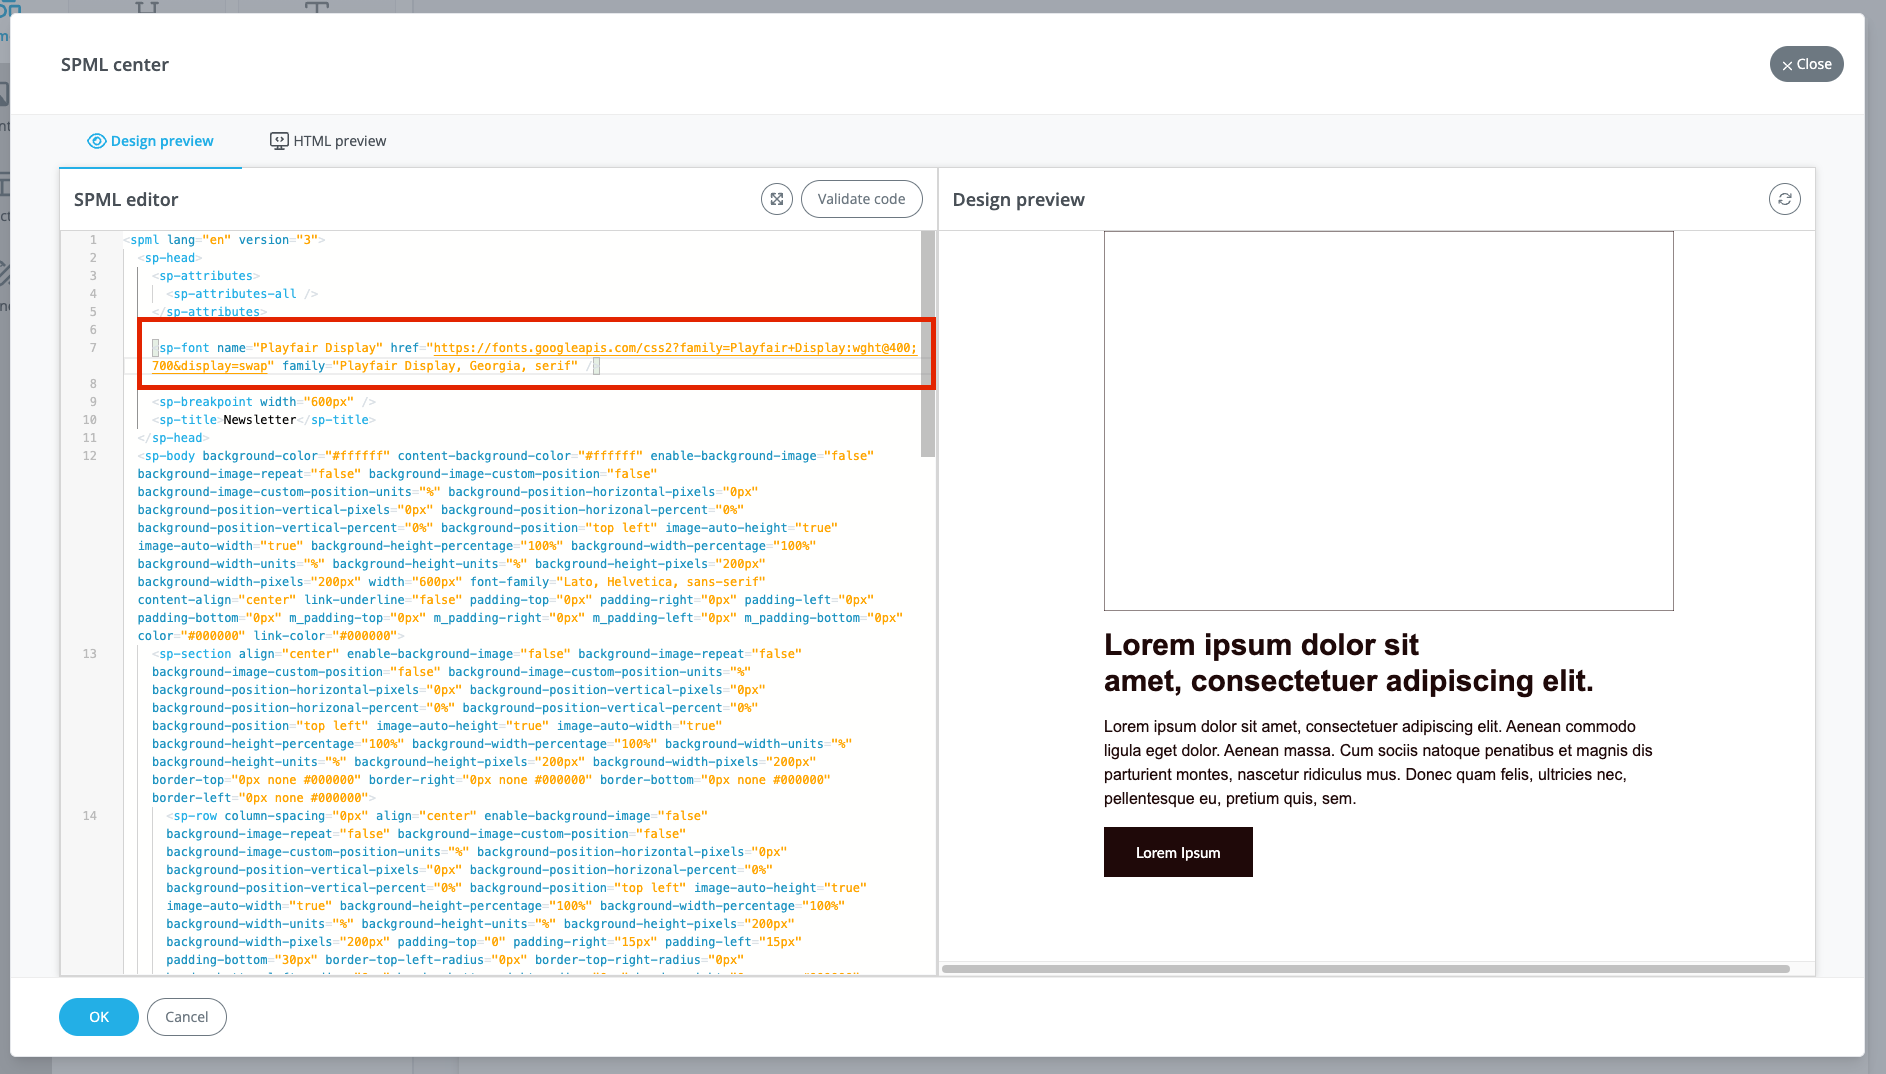
Once pasted, press on the 'Validate code' button to check if the markup is correct. If no errors were found, click 'OK' which saves your changes and closes the 'SPML editor'.
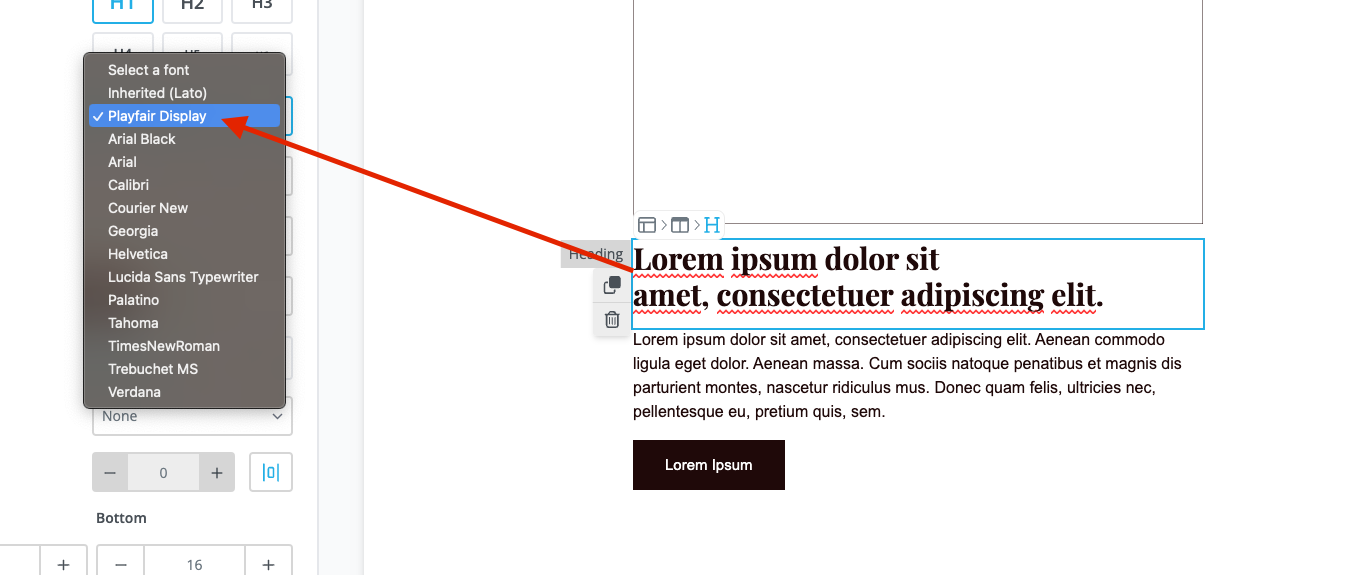
And that's pretty much it! You can now make use of your new custom font on the Mail+ drag and drop editor!