Quickly setup the structure on a new email template
2023-07-12It's always a good idea to first begin your project by going to the 'General' tab found on the left panel. This will give you the option to set the general styles of your template like the email's width, background and text colours, etc.

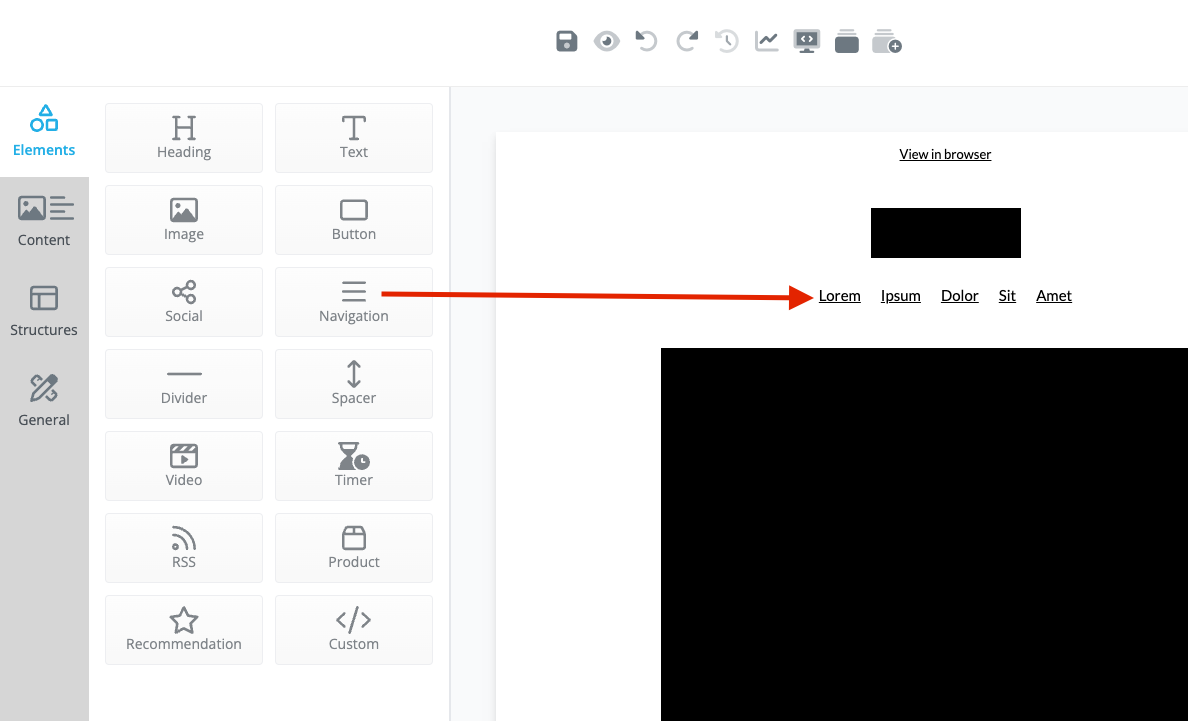
Next, start placing content elements you're going to need in your email template such as images, headings, paragraphs, and buttons. This of course will vary depending on exactly what you need in your template but these elements are the most common ones.
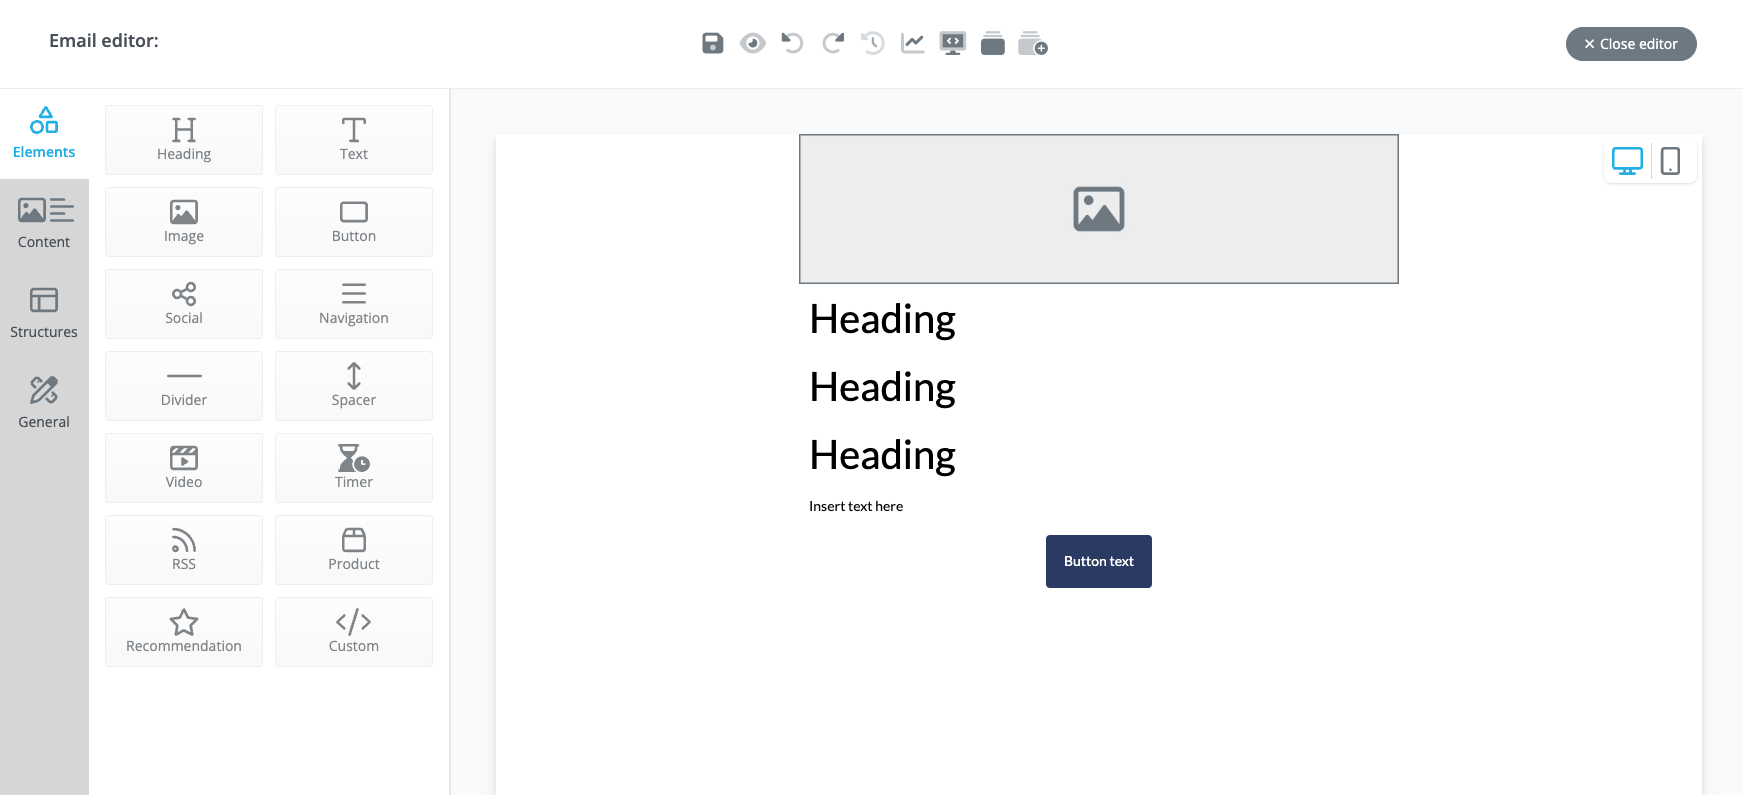
Once you've placed it on your message, utilise placeholders for images and text. This will give you a better idea of how your message will look like once you have actual content on it.
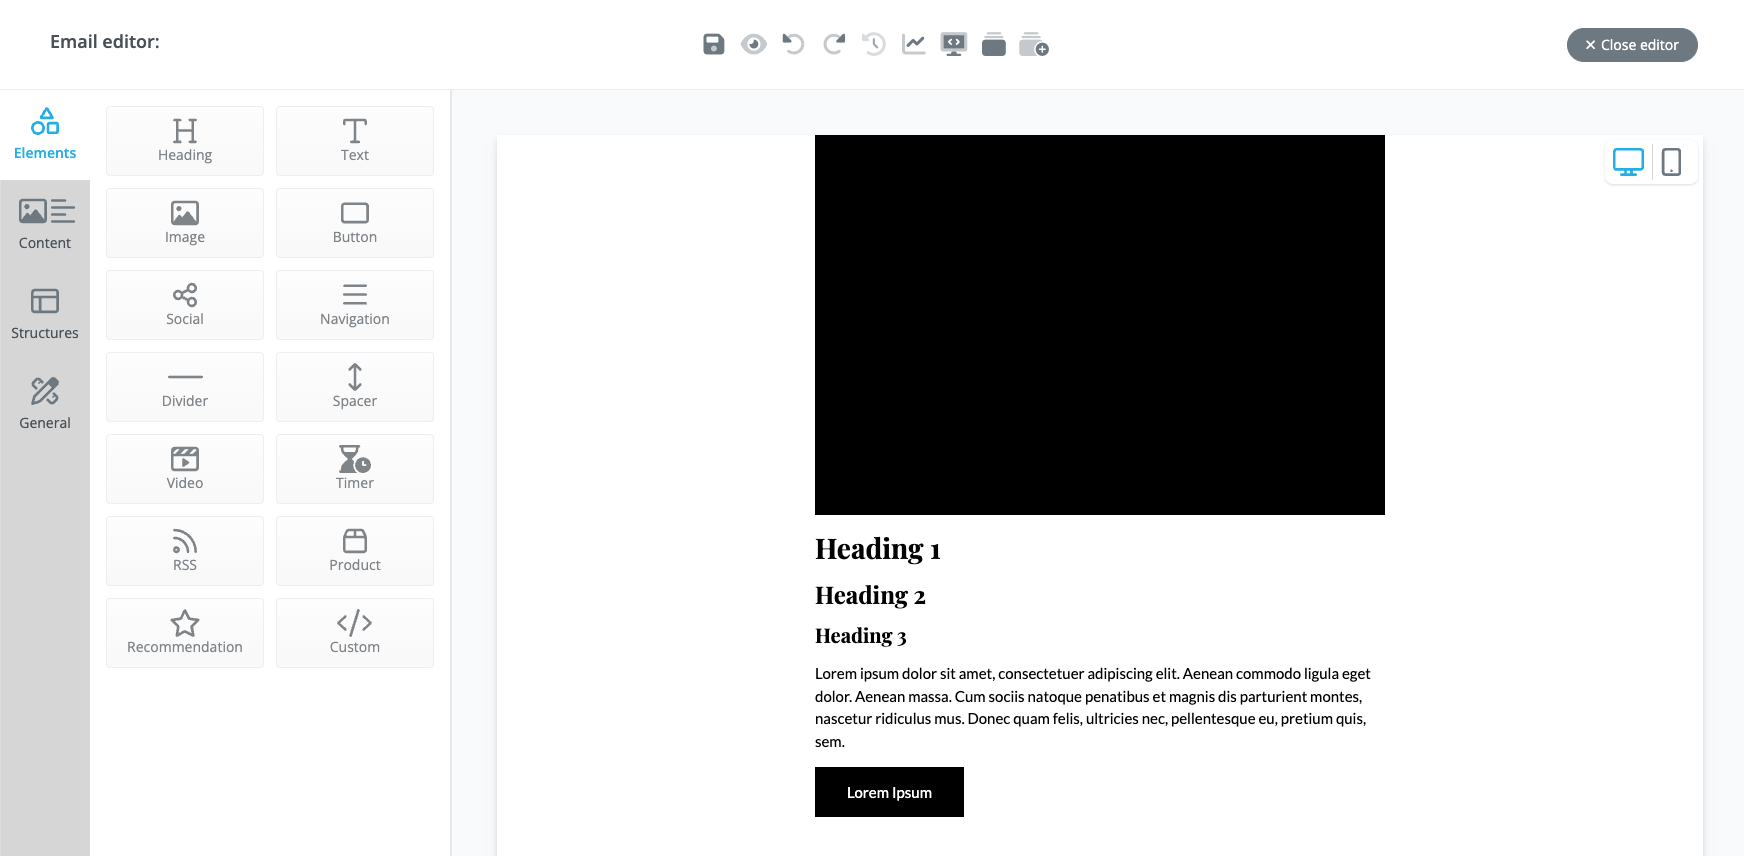
Work on your typography and create structure by editing the sizes of the different headings you plan to use and the paragraphs as well. Make sure that your paragraphs have enough line-height to increase its readability. I generally begin with 28, 24, and 20 pixels font size for my heading 1, 2, and 3 then 16 pixels for my paragraph with 1.5 line height. This will set you up with a pretty strong starting point.
Finally, edit how you'd like your buttons to look like. Make sure there's enough padding on the button so it's easier to click especially when tapping on mobile (those with big thumbs, you know what I'm talking about).
If you'd like to learn on how to make use of custom fonts on your template, please read our guide.
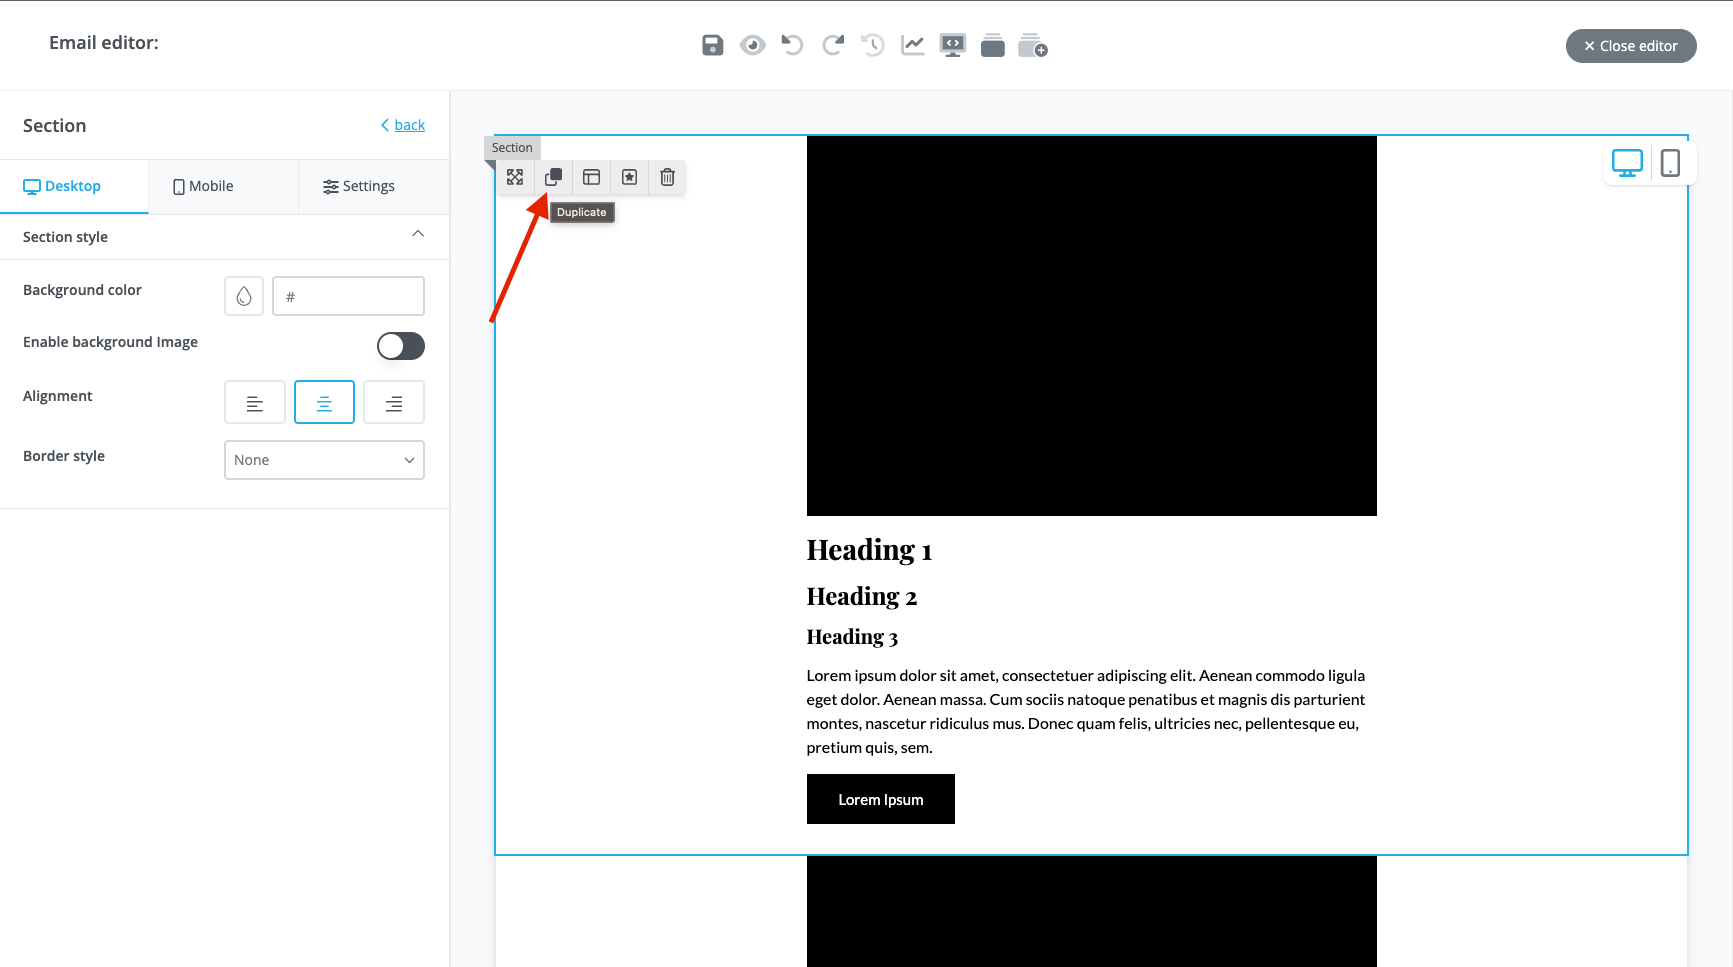
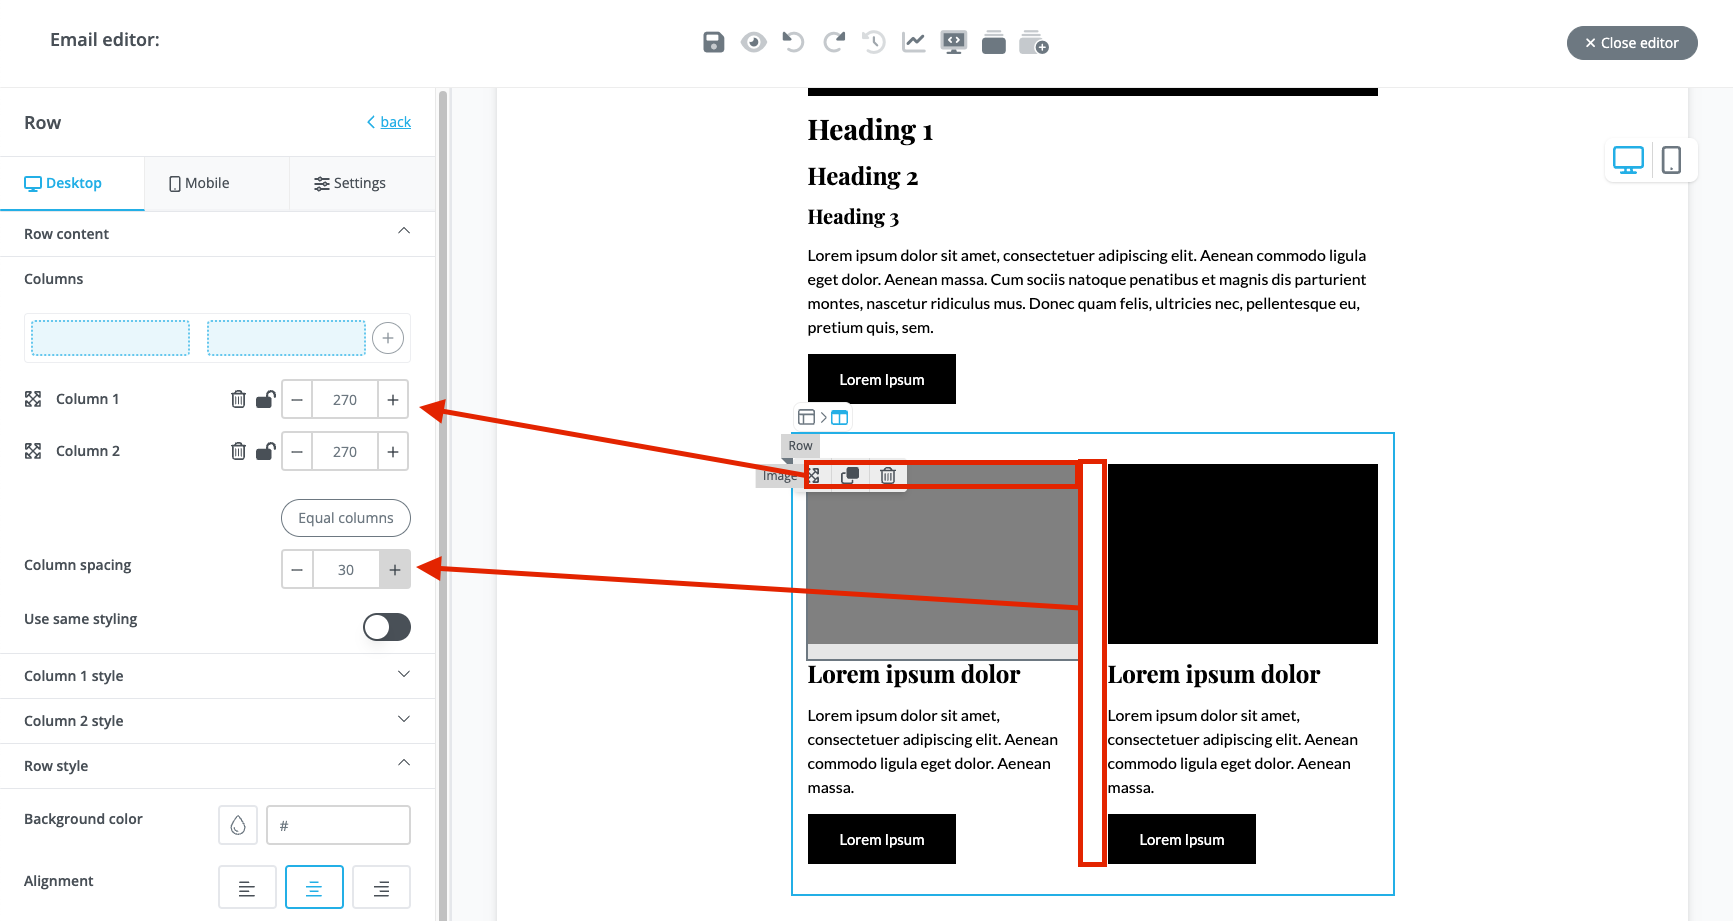
Now that your content elements are complete, let's start setting up the structure of the template. Duplicate the section with your placeholder content then add another column.
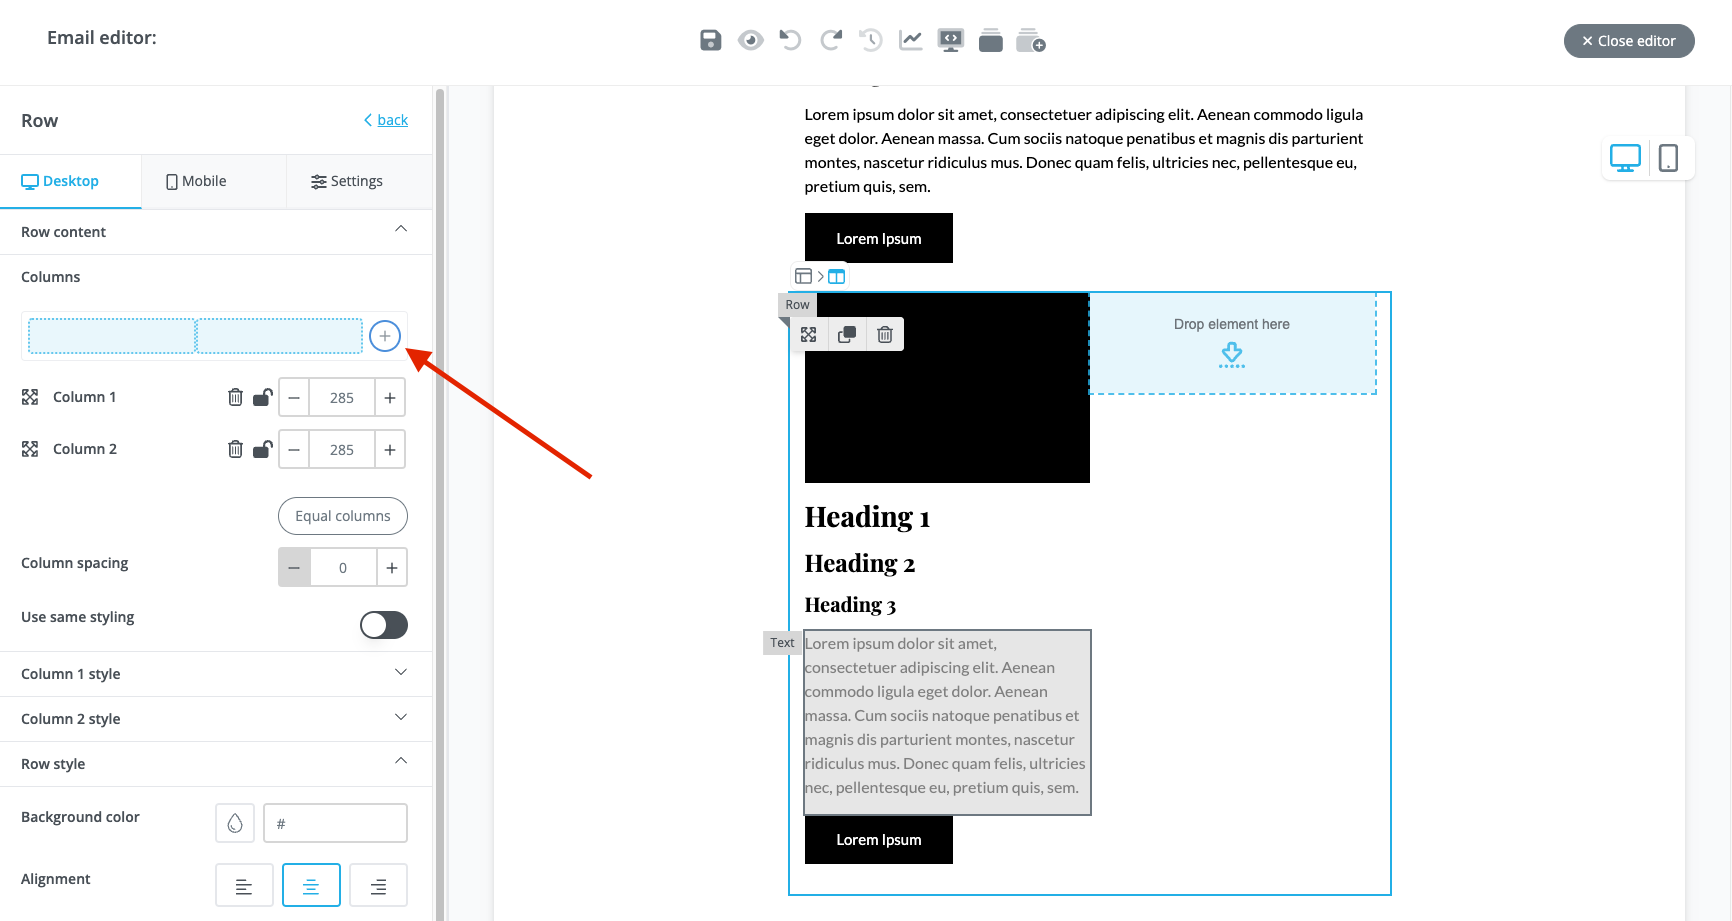
Now, duplicate the content from the left column and transfer them to right column. You also don't need all 3 headings at this point so leave just 1 and add some placeholder text. You should end up with something similar to the screenshot below. Note that you can edit the width of each column including the space between those columns by changing the 'Column spacing' value.
Now that you've finished building your 2-column section, building a 3 or 4-column section should just follow the same process. Try to limit the amount of your column to 4 as there is only so much horizontal space on an email.

Next, let's focus on our header and footer:
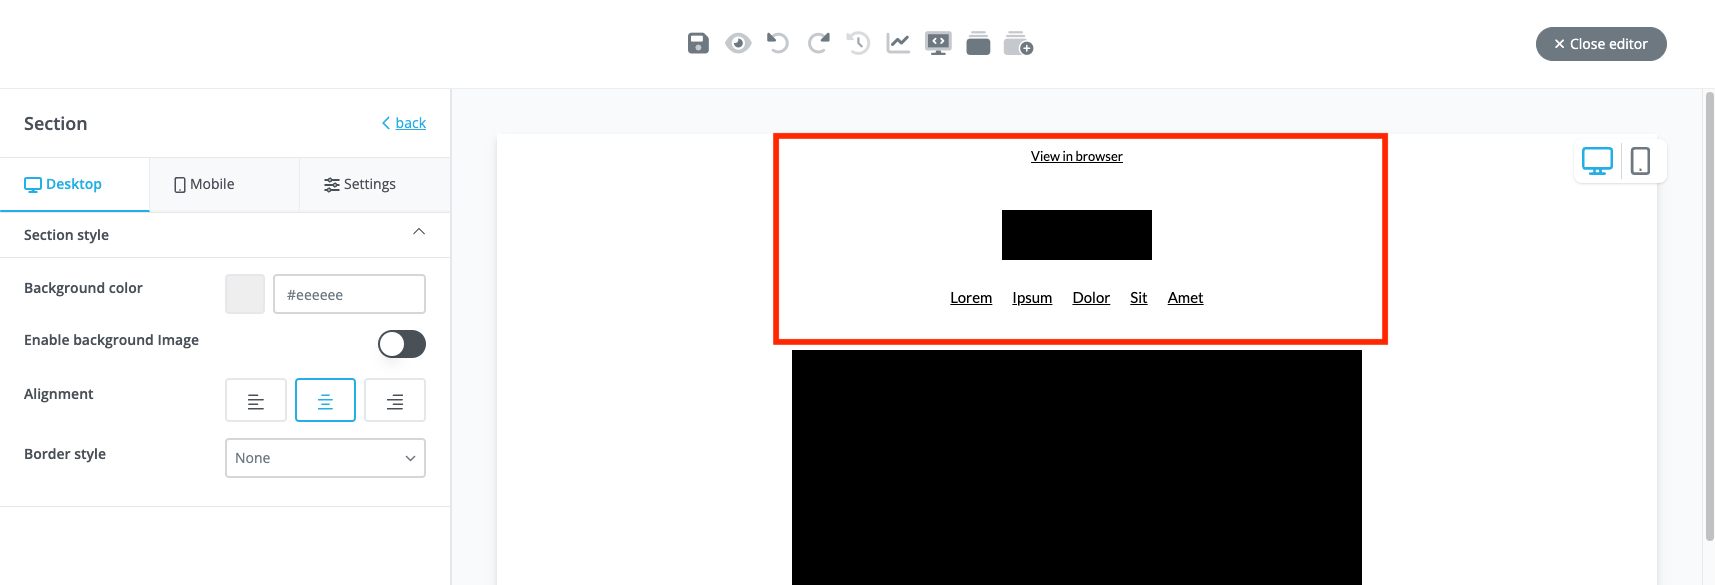
The header can be kept as simple as possible (and is recommended), only consisting of a 'view in browser' link, your logo and optional navigation links. However, do take note that adding these links may be a distraction to the main content so it really depends on the intention of the email. If, for example, you are launching a new product then steer away from these link as you want your main content and call-to-action as the main focus.
As for the footer though, these can be kept quite simple as well but you will have a bit more room to add content that offers information to your readers. Take the example below:
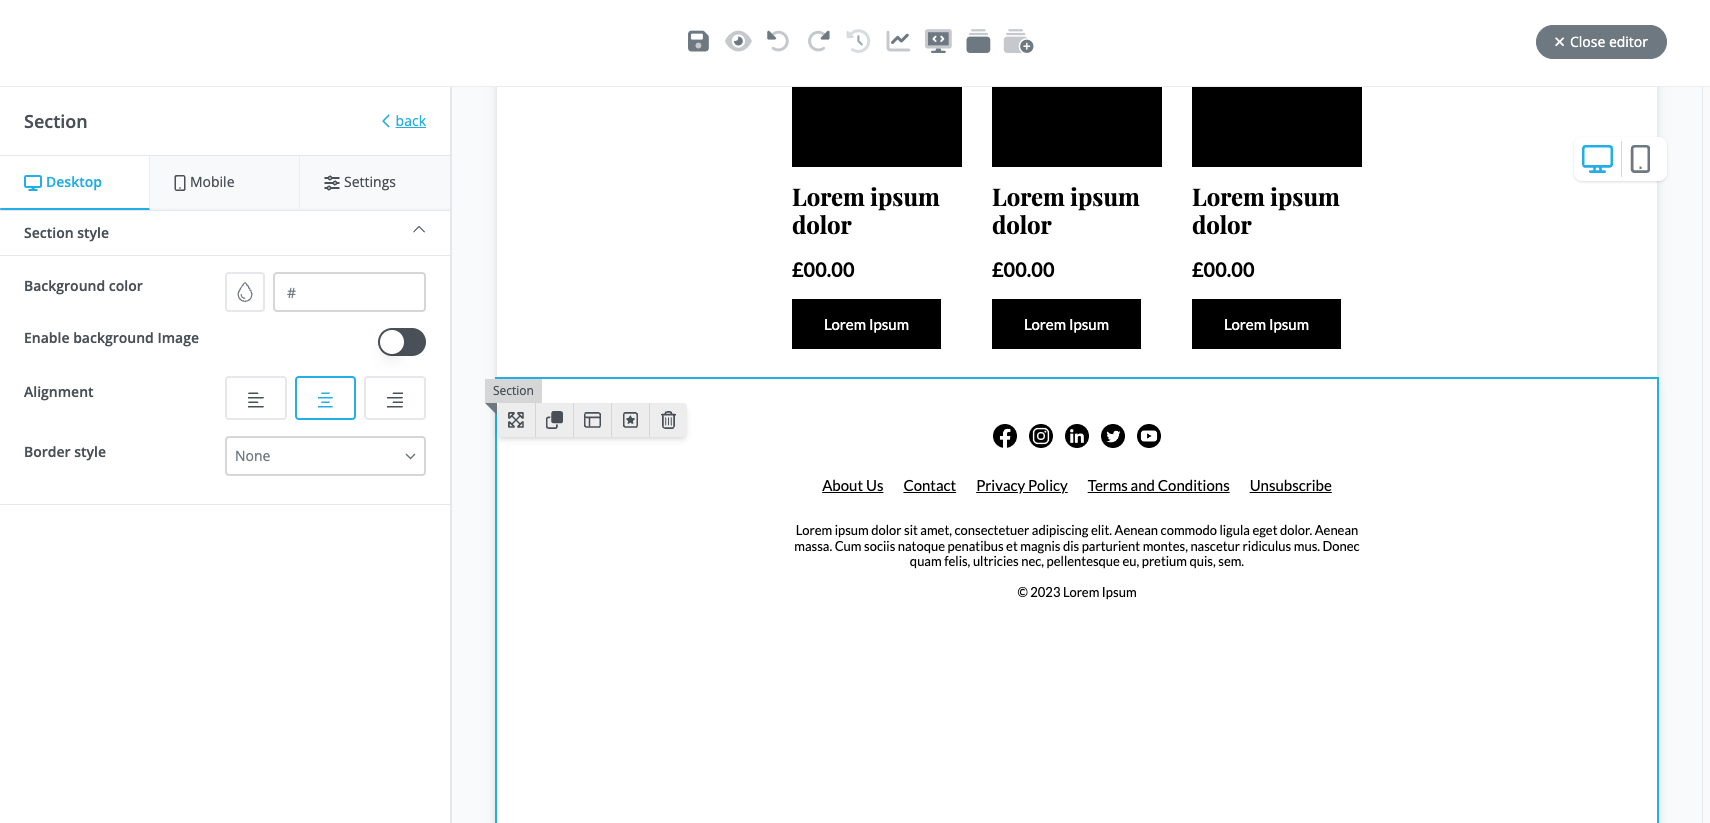
This footer contains links to different social media platforms for your audience to connect to, an array of useful links like the 'unsubscribe' link which is mandatory to any email (unless sent internally or is a legal requirement such as notices), text for conditions, and company information.
You can, of course, expand or condense this to whatever is required but this should be the basis of your footer's content.
When building a template, always keep the structure simple and focus on high quality copy and imagery. Clarify in terms of structure and presentation will always be helpful in conveying your message as clearly as possible to your audience.